
I have a soft spot for sweet, nostalgic desserts. They bring me right back to carefree summer days and those colorful childhood treats. I always liked ice cream, but regular scoops and plain milkshakes cannot match the thick, creamy goodness of a Blizzard. These treats feel extra special because they pack rich texture and fun flavors in every bite.
That is why I get excited about copycat recipes. They let me recreate my favorites at home, and my Dairy Queen Cotton Candy Blizzard recipe does just that. It mixes dreamy, soft-serve texture with the light, sugary sweetness of cotton candy. The playful pastel colors make it look as good as it tastes.
I use a few simple items from my kitchen, and no fancy tools are needed. The result is a Dessert treat I can enjoy whenever the craving strikes.
What Is a Cotton Candy Blizzard?
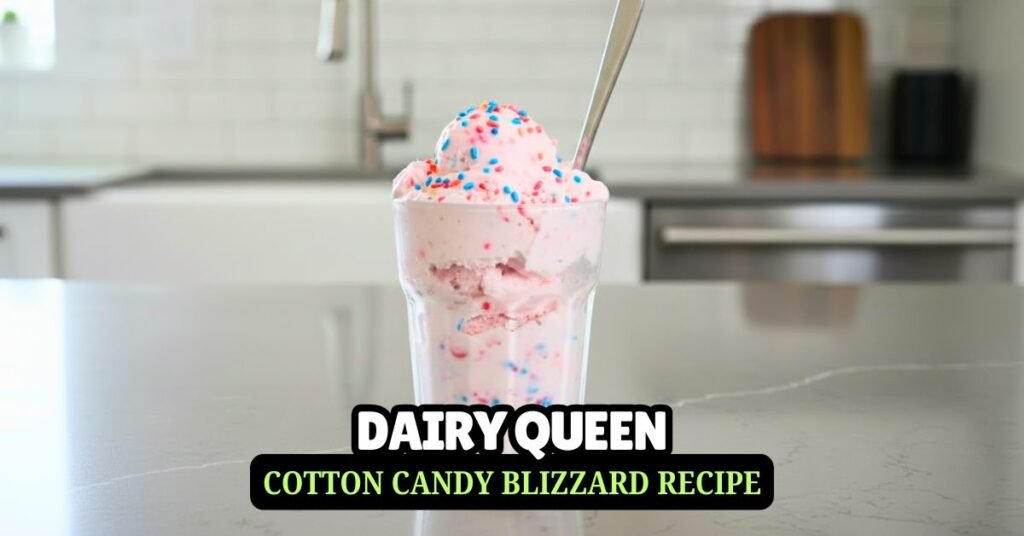
A Dairy Queen Cotton Candy Blizzard is a thick, creamy dessert made with soft-serve vanilla ice cream, cotton candy syrup, and colorful candy sprinkles. It is not a milkshake; it is much thicker, and you need a spoon to eat it.
The flavor tastes like pink and blue cotton candy from a carnival. It is sweet, light, and slightly fruity, but not sour. The texture is smooth and dense, with small crunchy bits from the candy. Dairy Queen blends the ingredients in a special machine until they are mixed, then flips the cup upside down to show that it won’t spill, which is their famous test.
The cotton candy Blizzard is a popular seasonal flavor because it brings back fun, carefree memories.
Does a Homemade Version Taste Like the Original?
Homemade versions of this treat can taste quite similar to Dairy Queen’s, but there are some differences. Dairy Queen uses a special soft-serve mix with less butterfat than regular ice cream, making it feel lighter and melt faster.
When I make it at home with regular ice cream, it turns out richer and denser. To enhance the flavor, I add extra cotton candy syrup or a bit of raspberry and vanilla, which gives it that carnival taste. The cotton candy flavor comes from a mix of sugar, vanilla, and a fruity note called ethyl maltol, which smells like caramelized sugar.
The pink and blue colors come from food coloring, not different flavors. Making it at home can be healthier because I can control the sugar and avoid artificial preservatives.
This blizzard is usually available at Dairy Queen in spring and summer. For 2026, I expect it to return from April to August. So if you want it in winter, homemade is the way to go.
What Ingredients Are in a Cotton Candy Blizzard?
Vanilla Ice Cream (2 to 2½ cups): Use full-fat vanilla ice cream for a rich, creamy shake. Choose a good brand. Store brands are okay, but avoid low-fat options since they can be too thin. French vanilla also adds a deeper flavor. If you want something lighter, you can use frozen yogurt or soft-serve.
Cotton Candy Flavored Syrup (2 to 3 tablespoons): This syrup gives the shake its cotton candy flavor. You can find it in the coffee or baking aisle at the store, or order it online. Brands like Torani and Monin are good choices. If you have cotton candy extract, use ½ to 1 teaspoon instead since it is stronger. Alternatively, you can mix in about 1 teaspoon of cotton candy–flavored Kool-Aid powder with the ice cream.
Pink and Blue Food Coloring (2-3 drops of each): Use 2-3 drops of each. Gel food coloring gives the brightest colors without adding extra liquid. Liquid food coloring works too, but you might need to use more drops. For a natural option, use beet powder for pink and butterfly pea powder for blue.
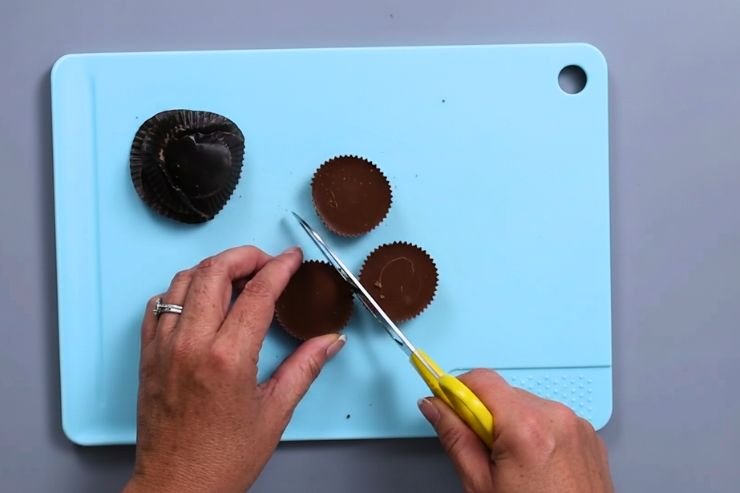
Cotton Candy Pieces or Candy Mix-Ins (¼ to ½ cup): Add real spun cotton candy just before serving, but remember it melts quickly. Rock candy pieces, pastel sprinkles, or bits of cotton candy-flavored hard candy will hold up better. Pastel M&Ms or white chocolate chips give a nice crunch without dissolving.
Vanilla (Optional): Add a splash of vanilla if you like. It helps balance the syrup’s sweetness. You can use regular vanilla, clear vanilla (which won’t change the color), or vanilla paste.
Recommended Tools for Best Results
- Stand Mixer with Paddle Attachment: This is the most important tool. It mixes the ice cream and add-ins to a thick, spoonable consistency without turning everything into a shake. You can use a hand mixer in a pinch.
- Metal Mixing Bowl: Freeze it for 15–30 minutes before use. A cold bowl helps keep everything from melting too fast when mixing.
- Ice Cream Scoop: Use this for easy, mess-free portioning every time.
- Rubber Spatula: This helps scrape every last bit from the bowl cleanly.
- Tall Milkshake Glasses or Cups: Choose glasses that are wide enough to scoop from and deep enough to turn upside down for the DQ-style test.
Step-by-Step Copycat Blizzard Instructions
1. Freeze Your Bowl and Mix-Ins: Place your metal mixing bowl in the freezer for 15 to 30 minutes. If you have hard candy or other mix-ins, freeze them too. A cold bowl helps make a thick Blizzard instead of a runny shake.
2. Scoop the Ice Cream: Scoop 2 to 2½ cups of firm vanilla ice cream into your chilled bowl. If the ice cream has softened, return it to the freezer for 10 minutes.
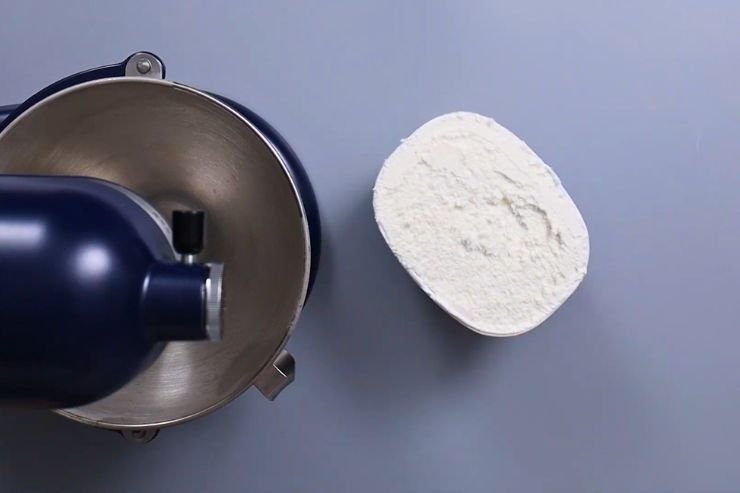
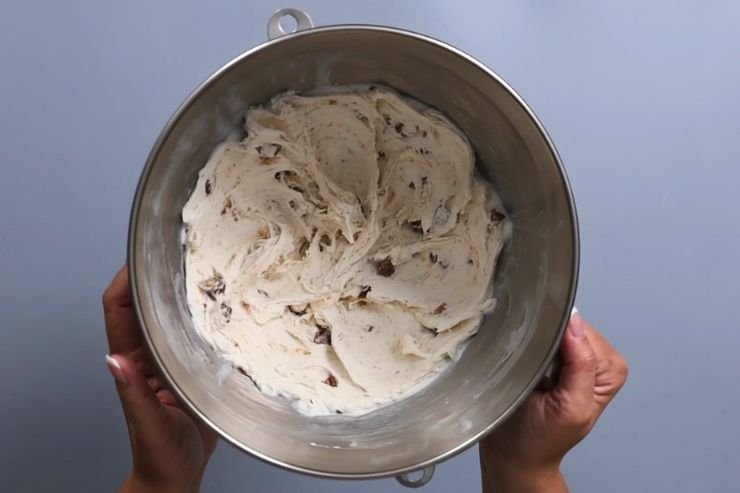
3. Attach the Paddle and Start Mixing: Put the chilled bowl on the stand mixer and attach the paddle. Start the mixer on low speed (setting 2 or 3). Mix until the ice cream starts to break down, which takes about 20 to 30 seconds.
4. Add the Cotton Candy Syrup and Food Coloring: While the mixer is on low, add 2 to 3 tablespoons of cotton candy syrup and a few drops of pink food coloring. Mix for 30 to 45 seconds until the color is even. Do not over-mix; it should stay thick and creamy.
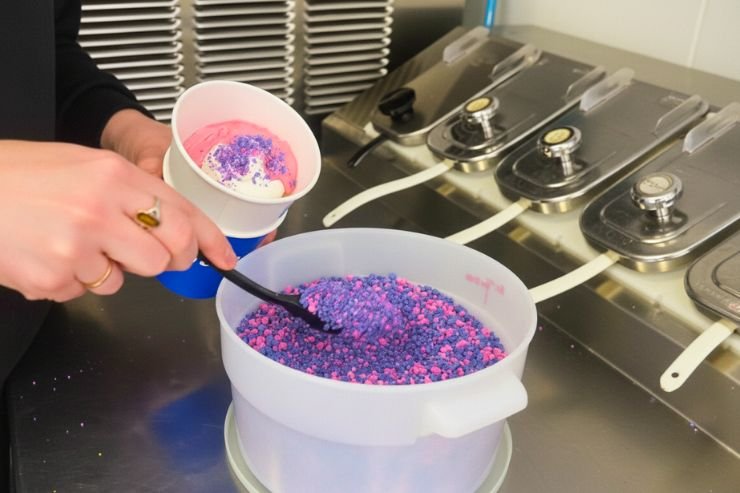
5. Fold in the Mix-Ins: Turn off the mixer. Use a rubber spatula to fold in your candy pieces gently. If you have cotton candy, add it now and work quickly before it dissolves. You can also add sprinkles or hard candy gently.
6. Portion Into Cups: Scoop the Blizzard mixture into cups. Top with extra candy for decoration. Add a swirl of blue food coloring on top and gently drag a toothpick through it for a pastel swirl.
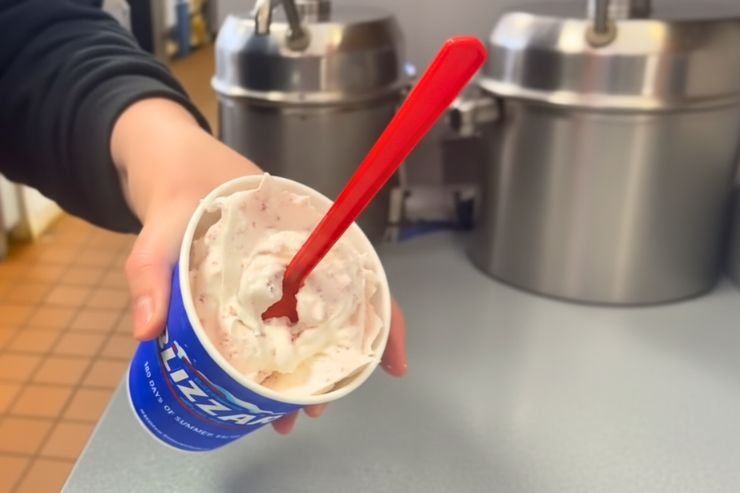
7. Do the Upside-Down Test: To see if your Blizzard is thick enough, flip the cup upside down for a second. If it keeps its shape, you did it right. If it slides out, it’s too thin. Check the tips for fixing this.
Helpful Tips and Common Mistakes to Avoid
It turns into a Milkshake: The most common problem is using a blender instead of a stand mixer. Blenders need liquid to work, so they force you to add milk to turn your thick Blizzard into a thin shake. A stand mixer uses mechanical force to blend, as does DQ.
Fix a Thin Blizzard: If your mix is too runny, don’t worry. Pour it back into the bowl and put it in the freezer for 10 to 15 minutes. Once it thickens, mix it briefly on low for 10 to 15 seconds. Adding a scoop of frozen ice cream to this mix can also help thicken it.
Use Cold Everything: Make sure your bowl, paddle attachment, and glasses are all cold before you start. Warm surfaces make things melt faster, especially when you begin mixing.
Don’t Over-Mix: It may be tempting to keep mixing until everything looks just right, but overmixing can melt the ice cream and cause it to lose its texture. Stop as soon as the mix-ins are evenly spread and the color looks consistent.
Taste Before Adding More Syrup: Cotton candy syrup is very strong. Start with 2 tablespoons, then taste it. If you want more flavor, add more syrup a little at a time. Using too much syrup can make it taste like perfume instead of a dessert.
Easy Variations and Custom Ideas
Milkshake Version: To make a cotton candy milkshake, add ½ cup whole milk to a blender. Adding ice cream and cotton candy syrup, then blending until smooth, will create a drinkable milkshake that tastes good but is thinner.
Kids’ Party Version: Scoop the milkshake into small paper cups. Before serving, top each cup with a piece of real cotton candy. It looks amazing, and kids love it.
Gluten-Free: The base recipe is gluten-free if your ice cream and candy mix-ins are certified gluten-free. Always check the labels on cotton candy syrup and hard candies, as some brands may use shared facilities.
Common Allergens: This recipe contains dairy. Depending on your mix-ins, it may also have soy, artificial dyes (like Red 40 and Blue 1), and trace amounts of nuts from certain candies. Always check labels for anyone with allergies.
Dairy-Free / Vegan Version: Substitute vanilla ice cream with a coconut milk-based variety, such as So Delicious or NadaMoo. Coconut adds creaminess. Use a vegan cotton candy syrup, but check the label.
Lower Sugar / Light Version: Use no-sugar-added vanilla ice cream and sugar-free cotton candy syrup, like those from Jordan’s Skinny Syrups. The texture may be less rich, but the flavor is still good. You can skip the candy mix-ins or use a small amount of dark chocolate chips for a lower-sugar option.
What to Serve With This Frozen Treat
Serve this blizzard with fresh strawberries or a small shortbread cookie on the side. The light cookie complements the blizzard without overpowering it. Use soft serve instead of regular ice cream for this recipe. Soft serve blends faster and stays fluffier, while regular ice cream makes the blizzard denser.
You can also make a Blizzard cake by spreading the mixture into a lined loaf pan and freezing it for 4 hours. Then slice it like a cake. To create a parfait, layer the blizzard with crushed graham crackers and whipped cream in a clear glass.
For mix-ins, my favorites are pastel M&Ms, white chocolate chips, and rainbow sprinkles. They keep their shape in the cold mixture, add crunch, and match the pastel colors. You can also use pink rock candy crystals, gummy worms, or cotton candy-flavored gummies.
Storage Tips and Make-Ahead Advice
To store leftover Blizzard, put it in an airtight container. To avoid ice crystals, press plastic wrap against the surface of the dessert. You can keep it in the freezer for up to 7 days.
When you’re ready to enjoy it again, let it sit at room temperature for about 5 minutes. Then, mix it quickly on low speed. It may not taste as fresh, but it will still be thick and delicious.
Remember, you can only freeze it once; refreezing can make it icy. Before eating, stir it well with a spoon to smooth it out. Do not refreeze it if it has been out for more than 20 minutes.
How Dairy Queen Makes Their Blizzards
Dairy Queen makes their Blizzards with vanilla soft-serve, which has less milk fat than regular ice cream. They mix syrup, candy, or fruit in a metal cup and blend it all without melting the soft serve, using a special machine.
They do a test called the “Upside-Down Test.” They flip each Blizzard upside down before handing it to you. If it spills, you get a free one. You can also use store-bought cotton candy as a mix-in, but crush it first and add it at the end.
A small Cotton Candy Blizzard has about 430 calories, while a medium has 620 calories. Most of these calories come from sugar.

Dairy Queen Cotton Candy Blizzard Recipe
Make a thick and creamy Dairy Queen Cotton Candy Blizzard Recipe at home with simple ingredients and fun colors in just minutes.
Ingredients
- Vanilla ice cream — 2 to 2½ cups (3–4 large scoops)
- Cotton candy flavored syrup — 2 to 3 tablespoons
- Pink food coloring — 2 to 3 drops
- Blue food coloring — 2 to 3 drops
- Cotton candy pieces or candy mix-ins — ¼ to ½ cup
- Vanilla — ½ teaspoon (optional)
Instructions
- Place your metal mixing bowl in the freezer for 15 to 30 minutes. If you have hard candy or other mix-ins, freeze them too. A cold bowl helps make a thick Blizzard instead of a runny shake.
- Scoop 2 to 2½ cups of firm vanilla ice cream into your chilled bowl. If the ice cream has softened, return it to the freezer for 10 minutes.
- Put the chilled bowl on the stand mixer and attach the paddle. Start the mixer on low speed (setting 2 or 3). Mix until the ice cream starts to break down, which takes about 20 to 30 seconds.
- While the mixer is on low, add 2 to 3 tablespoons of cotton candy syrup and a few drops of pink food coloring. Mix for 30 to 45 seconds until the color is even. Do not over-mix; it should stay thick and creamy.
- Turn off the mixer. Use a rubber spatula to fold in your candy pieces gently. If you have cotton candy, add it now and work quickly before it dissolves. You can also add sprinkles or hard candy gently.
- Scoop the Blizzard mixture into cups. Top with extra candy for decoration. Add a swirl of blue food coloring on top and gently drag a toothpick through it for a pastel swirl.
- To see if your Blizzard is thick enough, flip the cup upside down for a second. If it keeps its shape, you did it right. If it slides out, it's too thin. Check the tips for fixing this.
Nutrition Information:
Yield: 2 Serving Size: 1Amount Per Serving: Calories: 320
You can easily make this blizzard at home that tastes just like the one from Dairy Queen. It costs much less and lets you choose the flavors and mix-ins.
If you’re craving it and the nearest Dairy Queen is too far away, or if it’s no longer on the menu, this Dairy Queen Cotton Candy Blizzard Recipe is a great alternative.