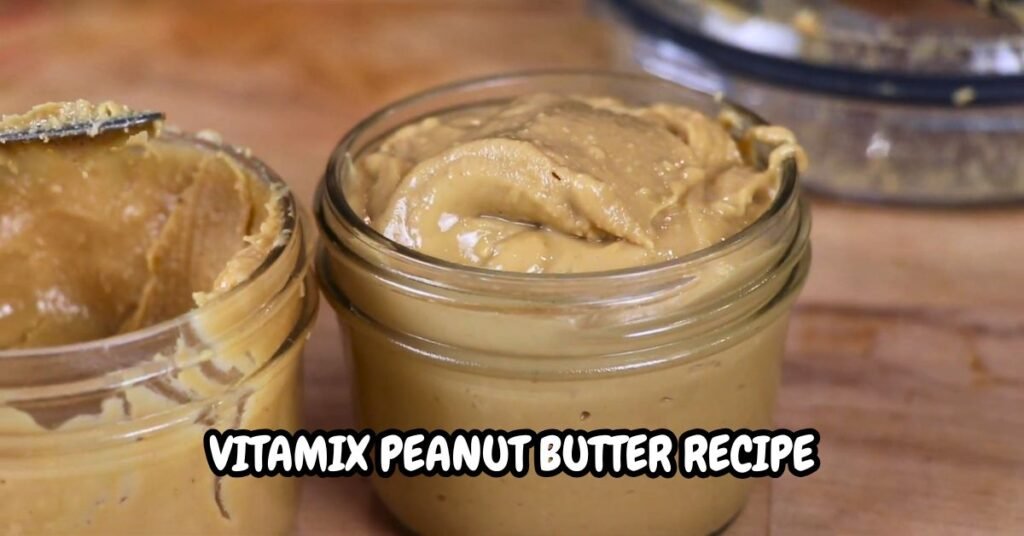
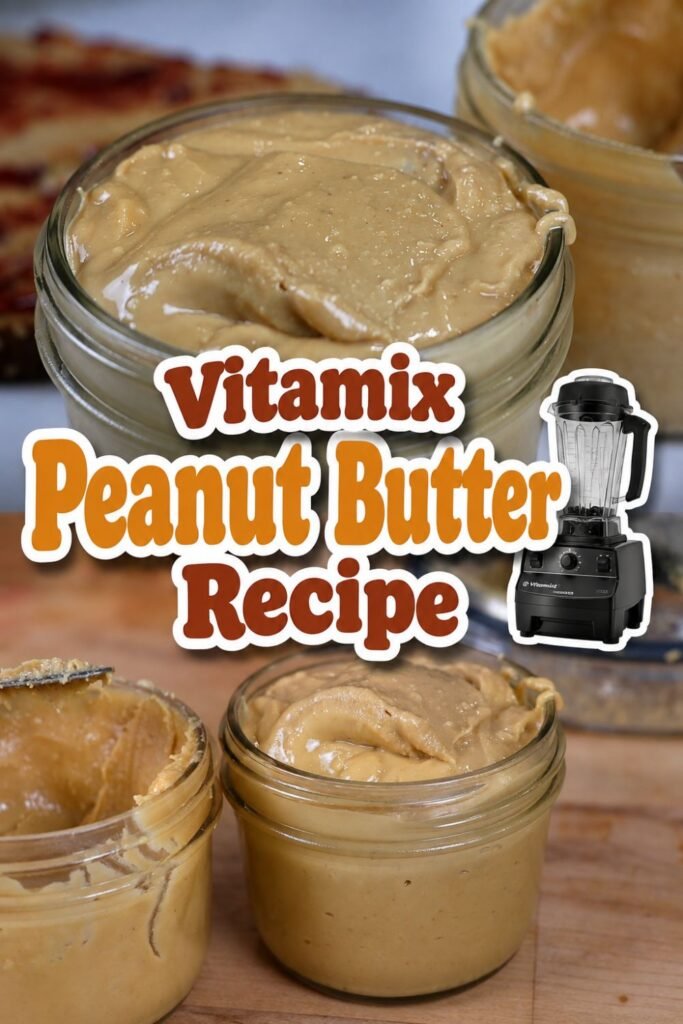
A Vitamix Peanut Butter Recipe is the reason my pantry stopped holding store-bought jars. My husband started marathon training two winters ago in Ohio. Cold mornings meant six a.m. runs and real fuel before he left the house.
Peanut butter toast was his ritual before every run. One Tuesday the jar sat empty, and our grocery store hadn’t restocked his usual brand. I pulled four cups of peanuts from the pantry and grabbed our old Vitamix 5200 instead.
Ninety seconds later, warm peanut butter spun in the container, smooth and glossy. It hummed low, almost like a chug. It smelled like a roadside peanut stand in late August. He ate it straight off a rubber spatula before lacing up his shoes.
That kitchen accident became our regular Sunday routine. Now I keep raw peanuts stocked like flour in the pantry. This same method has since fed both of our kids their very first spoonfuls of nut butter.
Why Make Peanut Butter in a Vitamix?
A Vitamix Peanut Butter Recipe works fast because the motor spins near 240 miles per hour. That heat and force turns whole peanuts into a smooth paste in about ninety seconds. Most blenders can’t hold that speed more than a few seconds.
A food processor chops peanuts into a coarse paste and stops there. A Vitamix keeps pushing past that stage into a silky, pourable butter. Cleanup is simpler too, since the container doubles as a pitcher rather than a bowl and blade.
My favorite is the Vitamix 5200, an older workhorse with a simple dial. The 750 and Ascent X-series handle it too, using smart presets. Even the smaller E310 manages a batch, with more time. The Ascent’s touchscreen preset runs the quietest of the four.
A batch smaller than two cups tends to just spin instead of blend, so stick close to four cups. Stick with the standard wet container, not the dry grains container. Skip food processor attachments too; they can’t handle this job.
How to Choose the Best Peanuts
Roasted peanuts blend faster than raw ones, since roasting already breaks down some of the cell walls. Raw peanuts work too, but expect the blender to run closer to two minutes instead of one.
Unsalted peanuts let you control the sodium yourself, which matters for anyone watching their intake. Salted, dry-roasted peanuts give a snappier, more savory batch straight out of the container. Honey-roasted peanuts add sugar upfront, so skip any added sweetener later in the recipe.
Organic peanuts cost more at my local co-op, usually about two dollars extra per bag. The payoff is a cleaner peanut flavor, without the faint bitterness some conventional peanuts carry.
I roast my own raw peanuts sometimes, spread thin on a sheet pan at 350°F for twelve minutes. Homemade roasting gives the strongest peanut smell of any method I’ve tried.
Ingredients for Vitamix Peanut Butter Recipe
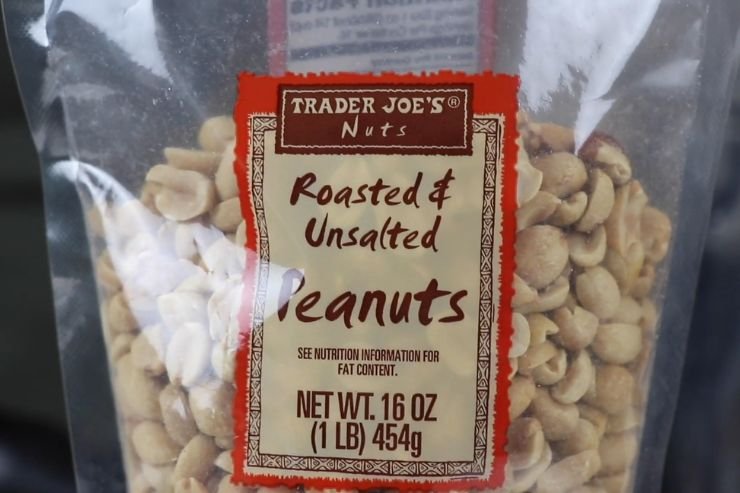
4 cups roasted, unsalted peanuts: These are the base of the recipe, giving protein and the oils that become butter. I always reach for Planters dry-roasted peanuts on my grocery run. Look for peanuts without added sugar, since that changes texture and blend time.
Swap in raw peanuts for a more mellow flavor. The blend then runs almost twice as long, closer to two and a half minutes.
½ teaspoon fine sea salt: Salt rounds out the peanuts’ sweetness and keeps the butter from tasting flat. I use Diamond Crystal fine sea salt, since it dissolves fast. Skip this entirely for a salt-free batch; the peanuts alone still taste plenty rich.
1 to 2 tablespoons peanut oil: This is my backup for stubborn batches that stall out before turning smooth. A drizzle down the lid opening restarts the blend within seconds. Swap in melted coconut oil for a faint coconut note; peanut flavor still leads.
1 tablespoon honey, optional: Honey adds a light sweetness and helps thin the texture slightly. It never turns the batch into candy. I keep a jar of local wildflower honey just for this. Maple syrup works well here too, though the batch turns a shade darker.
½ teaspoon vanilla extract, optional: Vanilla rounds out the roasted peanut smell with a warm, bakery-like note in the background. Nielsen-Massey is the bottle I keep on hand for this. Leave it out entirely for a purer, single-ingredient peanut butter.
2 tablespoons peanut flour, optional: Peanut flour thickens the finished butter without adding extra fat. This helps when peanuts run on the oilier side, especially in summer. I add it only after tasting the base batch, a spoonful at a time.
Use defatted peanut flour, not the full-fat kind, for the thickest result. In place of peanut flour, chill the container for ten minutes before storing, which firms the spread naturally.
1 to 2 teaspoons ice water, optional: A splash of ice water at the end helps bind the oils back into the paste. This gives a stiffer, no-stir style spread. I use filtered water from our Brita pitcher for this.
Skip it entirely for the classic, slightly looser texture fresh off the blades.
2 tablespoons chopped peanuts, optional: Fold these in by hand after blending, once the base batch has fully cooled for a few minutes. This gives real crunch without dulling the blender blades on a second run.
Pulse them in briefly on low speed instead of hand-stirring, for a more even, bite-sized crunch throughout.
Equipment You’ll Need
- Vitamix blender: high-speed motor required.
- Tamper: pushes peanuts into the blades.
- Rubber spatula: scrapes the container clean.
- Airtight glass jar: for storing the finished batch.
- Kitchen scale: for precise peanut measuring.
- Measuring spoons: for salt, oil, and honey.
How to Make Peanut Butter in a Vitamix
1. Measure the Peanuts: Add 4 cups of roasted, unsalted peanuts straight into the Vitamix container. No water, no rinsing, just pour them in and lock the lid.
2. Start on Low Speed: Turn the dial to variable speed one and switch the machine on. Let it run for about five seconds before ramping up.
You should hear a slow, rattling sound as whole peanuts shift and settle near the blades.
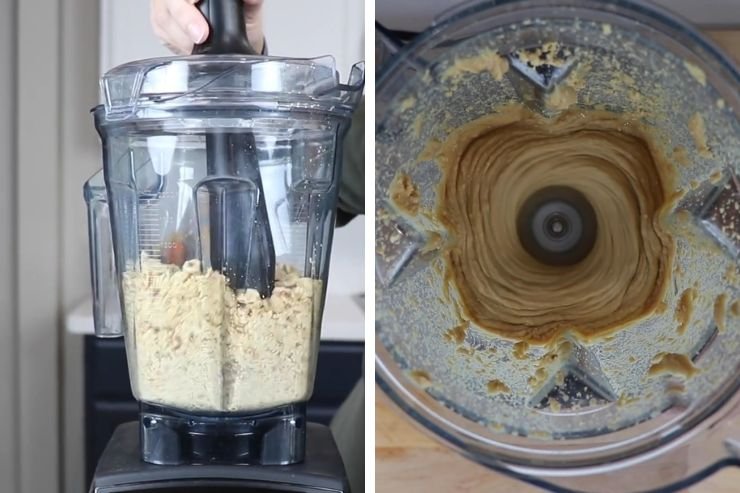
3. Ramp Up to High Speed: Slowly turn the dial from one up to ten over roughly ten seconds. The peanuts will sound chunky and loud at first.
4. Use the Tamper Steadily: Push the tamper down through the lid opening, guiding peanuts back into the blades from the sides. Keep it moving the whole time, don’t let it sit still.
5. Listen for the Chug: After about thirty seconds, the sharp grinding noise softens into a low, steady chug. That sound means the peanuts have turned into a thick, moving paste.
Watch the color too. It shifts from pale, dusty tan to a deeper, glossy brown as the natural oils release.
The first time I tested this, I kept the tamper still too long. The machine’s pitch turned into a high whine. I pulled the tamper up, tapped the sides, and restarted the motion.
6. Blend Until Smooth: Continue tamping for another twenty to thirty seconds, until the butter spins freely and looks glossy rather than clumped. Total blend time usually lands around fifty-two seconds.
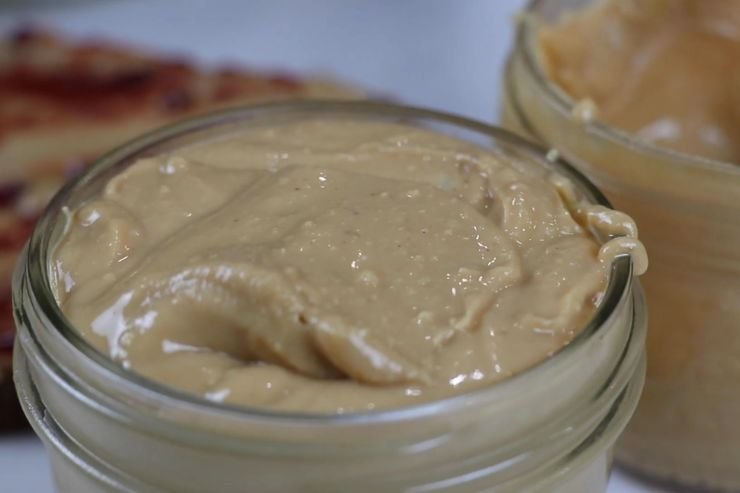
7. Turn Off Quickly: Once the butter spins freely on its own, switch the machine off within ten seconds. Running it longer than that heats the motor more than the peanuts need.
I once let a batch run a full extra minute past that point. The base got so hot it tripped the outlet in my kitchen.
8. Scrape and Jar: Use the rubber spatula to scrape every corner of the container into a clean glass jar. Work quickly while the butter is still warm and pourable.
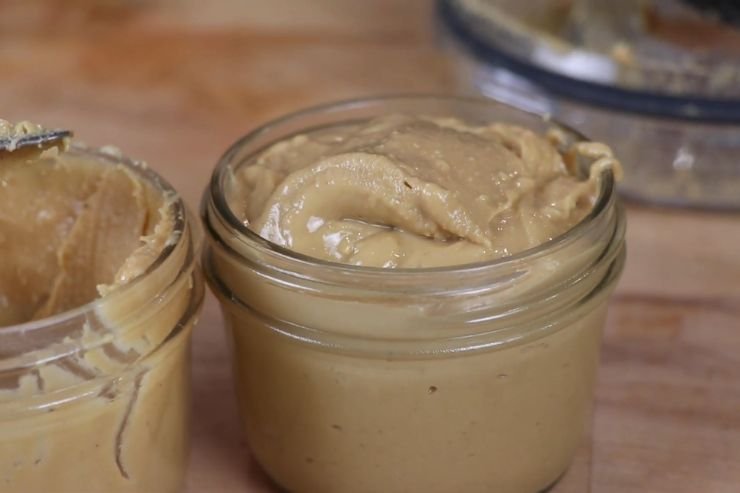
9. Taste and Adjust: Stir in optional salt, honey, or vanilla now, while the butter is still warm and loose. Pulse on medium speed for five seconds to fully combine any add-ins.
Expert Tips for Smooth Homemade Peanut Butter
1. Warm the peanuts slightly: A minute in a 300°F oven loosens the oils and speeds up blending.
2. Keep the blender running continuously: Stopping and restarting makes the motor work harder overall.
3. Scrape only when truly stuck: Frequent scraping slows the process and cools the peanuts down.
4. Add flavorings after the base is smooth: Mixing honey or vanilla in too early can slow the initial grind.
5. Watch the sound, not just the clock: A steady chug beats guessing by seconds alone.
6. Cool the jar with the lid off first: Trapped steam creates unwanted moisture inside the container.
Homemade Peanut Butter Troubleshooting Guide
1. Peanut butter won’t blend: Add a tablespoon of peanut oil down the lid opening to restart movement.
2. Butter turns out grainy: Blend another fifteen seconds; grainy usually means it stopped too early.
3. Blender feels hot to the touch: Turn it off immediately and let the motor rest for five minutes.
4. Butter sticks to the container walls: Run the tamper in slow circles instead of pressing straight down.
5. Batch tastes flat or dull: Add a pinch more salt, since roasted peanuts vary in saltiness by brand.
6. Paste stays thick instead of turning creamy: Give it ten more seconds past the chugging sound.
Easy Peanut Butter Flavor Variations
Honey Peanut Butter: Blend in 2 tablespoons of honey after the base turns smooth. This is what I spread on Sunday morning waffles for the kids.
Chocolate Peanut Butter: Add 3 tablespoons of cocoa powder and a tablespoon of honey. It turns almost fudge-like, great on banana slices after dinner.
Cinnamon Peanut Butter: Blend in a scant teaspoon of ground cinnamon at the end. It smells like fall and works well swirled into warm oatmeal.
Maple Peanut Butter: Swap honey for 2 tablespoons of real maple syrup. The flavor leans woodsy rather than floral, good on pancakes.
Spicy Peanut Butter: Add a quarter teaspoon of cayenne and a squeeze of lime. This one goes straight into weeknight noodle sauces.
Keto Peanut Butter: Skip honey entirely and use only peanuts, salt, and a touch of oil. The result stays low in carbs without losing richness. This version also works for sugar-free and vegan diets, since nothing here comes from animals or added sweeteners.
Ways to Use Homemade Peanut Butter
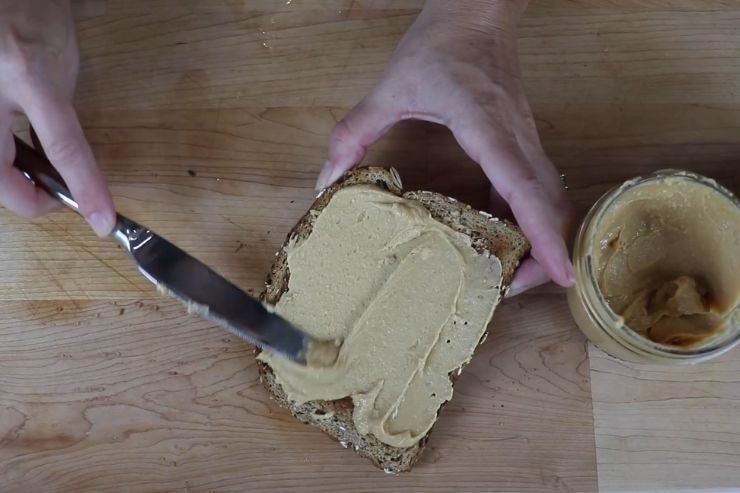
Homemade peanut butter spreads thinner than store jars, so sandwiches take less to fully coat the bread. Toast gets a thin layer plus sliced banana most mornings in our house. My daughter prefers hers with a drizzle of honey on top.
Stir a spoonful into warm oatmeal for extra protein, or blend it straight into a banana smoothie. Baking recipes like cookies also benefit from its slightly looser texture, since less flour is needed to balance the dough.
Thin it with rice vinegar and soy sauce for a quick peanut sauce over noodles. It also works whisked into salad dressing or stirred into yogurt for a dip. Roll it with oats into no-bake energy bites for lunchboxes.
For a full meal, spread it on toast and add banana slices. Plate it beside a smoothie made with the same jar of peanut butter.
How to Store Homemade Peanut Butter
Keep a fresh batch at room temperature for about 1 week. Seal it tightly in a glass jar, away from direct sun. Natural oil separation is normal and just needs a quick stir. I reach for a wide-mouth Weck jar for this.
Refrigerated peanut butter lasts closer to 1 month. Cold temperatures slow the oil from separating, though the texture firms up considerably, so let it sit out before spreading. A ten-second stint in the microwave also loosens a cold jar fast.
For longer storage, freeze it for up to 3 months in a freezer-safe jar with room left at the top. Thaw overnight in the fridge before using, then stir well once it softens.
Prevent oil separation by storing the jar upside down every few days. Glass jars with wide mouths make scraping and stirring far easier than narrow plastic ones. Plastic also tends to hold onto peanut odor over time.
How to Clean Your Vitamix After Making Peanut Butter
Clean the container immediately after pouring out the butter, while residue is still warm and loose. Add warm water and a drop of dish soap straight into the empty container.
Run the blender on high for about thirty seconds using the self-clean method. This clears most sticky residue without any scrubbing needed on your part. A drop of extra soap here helps cut through the oil film fast.
For stubborn spots near the blade base, use a bottle brush after the self-clean cycle. Deep clean the lid and tamper by hand, since soap residue can linger in the ridges.
Let every part air dry fully before storing, since trapped moisture near the blades can dull them faster over time. I keep a small drying rack set aside just for blender parts.
Vitamix Peanut Butter Recipe FAQs
1. What’s the difference between creamy and crunchy peanut butter here?
Creamy blends the full batch smooth. For crunchy, reserve a half cup of chopped peanuts and stir them in after blending the rest.
2. How do I get an extra smooth, ultra-creamy texture?
Blend thirty seconds past the chugging sound and add an extra teaspoon of oil. The added run time breaks down more of the cell walls.
3. Why does refrigerated peanut butter turn hard to spread?
Cold temperatures solidify the natural oils. Add a half teaspoon of oil before chilling to keep a spreadable, fridge-friendly texture.
4. Can I make other nut butters using this same method?
Almond, cashew, and sunflower seeds all work using identical timing and speed settings. Mixed nut butter just combines two or more of these in equal parts.
5. What are the best mix-ins for homemade peanut butter?
Chia seeds, flaxseed, and hemp hearts add texture without changing flavor much. Espresso powder, sea salt, and cocoa nibs add bolder contrast.
6. How far ahead can I prep peanut butter for gifting?
Make it up to two weeks ahead and store it refrigerated in sealed jars. Let jars sit at room temperature for an hour before gifting.
7. Do I need added oil for a lower-fat version?
No, peanuts release enough natural oil on their own during blending. Oil only helps stubborn batches move, not fat content overall.
8. Is this version safe for toddlers and young kids?
Blend it fully smooth with no reserved chunks, and always check for peanut allergies first. Thin, smooth spreads are easier and safer for little ones.
Vitamix Peanut Butter Recipe
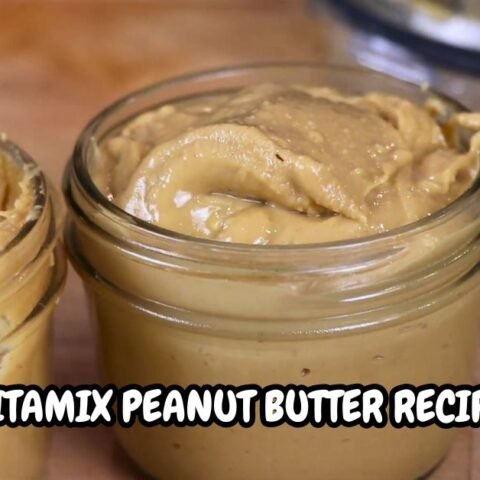
Vitamix Peanut Butter Recipe made with roasted peanuts for creamy, homemade peanut butter in minutes with no specialty ingredients.
Ingredients
- 4 cups roasted, unsalted peanuts
- ½ teaspoon fine sea salt
- 1 to 2 tablespoons peanut oil, optional
- 1 tablespoon honey, optional
- ½ teaspoon vanilla extract, optional
- 2 tablespoons peanut flour, optional
- 1 to 2 teaspoons ice water, optional
- 2 tablespoons chopped peanuts, optional
Instructions
- Add 4 cups of roasted, unsalted peanuts straight into the Vitamix container. No water, no rinsing, just pour them in and lock the lid.
- Turn the dial to variable speed one and switch the machine on. Let it run for about five seconds before ramping up. You should hear a slow, rattling sound as whole peanuts shift and settle near the blades.
- Slowly turn the dial from one up to ten over roughly ten seconds. The peanuts will sound chunky and loud at first
- Push the tamper down through the lid opening, guiding peanuts back into the blades from the sides. Keep it moving the whole time, don’t let it sit still.
- After about thirty seconds, the sharp grinding noise softens into a low, steady chug. That sound means the peanuts have turned into a thick, moving paste.
- Watch the color too. It shifts from pale, dusty tan to a deeper, glossy brown as the natural oils release.
- The first time I tested this, I kept the tamper still too long. The machine’s pitch turned into a high whine. I pulled the tamper up, tapped the sides, and restarted the motion.
- Continue tamping for another twenty to thirty seconds, until the butter spins freely and looks glossy rather than clumped. Total blend time usually lands around fifty-two seconds.
- Once the butter spins freely on its own, switch the machine off within ten seconds. Running it longer than that heats the motor more than the peanuts need. I once let a batch run a full extra minute past that point. The base got so hot it tripped the outlet in my kitchen.
- Use the rubber spatula to scrape every corner of the container into a clean glass jar. Work quickly while the butter is still warm and pourable.
- Stir in optional salt, honey, or vanilla now, while the butter is still warm and loose. Pulse on medium speed for five seconds to fully combine any add-ins.
Nutrition Information:
Yield: 16 Serving Size: 1Amount Per Serving: Calories: 190
Jars of this peanut butter make simple holiday gifts, especially layered with cinnamon or chocolate batches side by side. A strip of twine and a printable label turn a plain jar into something worth handing over.
Mix two or three flavors into a small gift set for neighbors or coworkers this season. Small four-ounce jars work best for sets, since flavors get sampled easily. A short handwritten note about the flavor inside always gets asked about later.